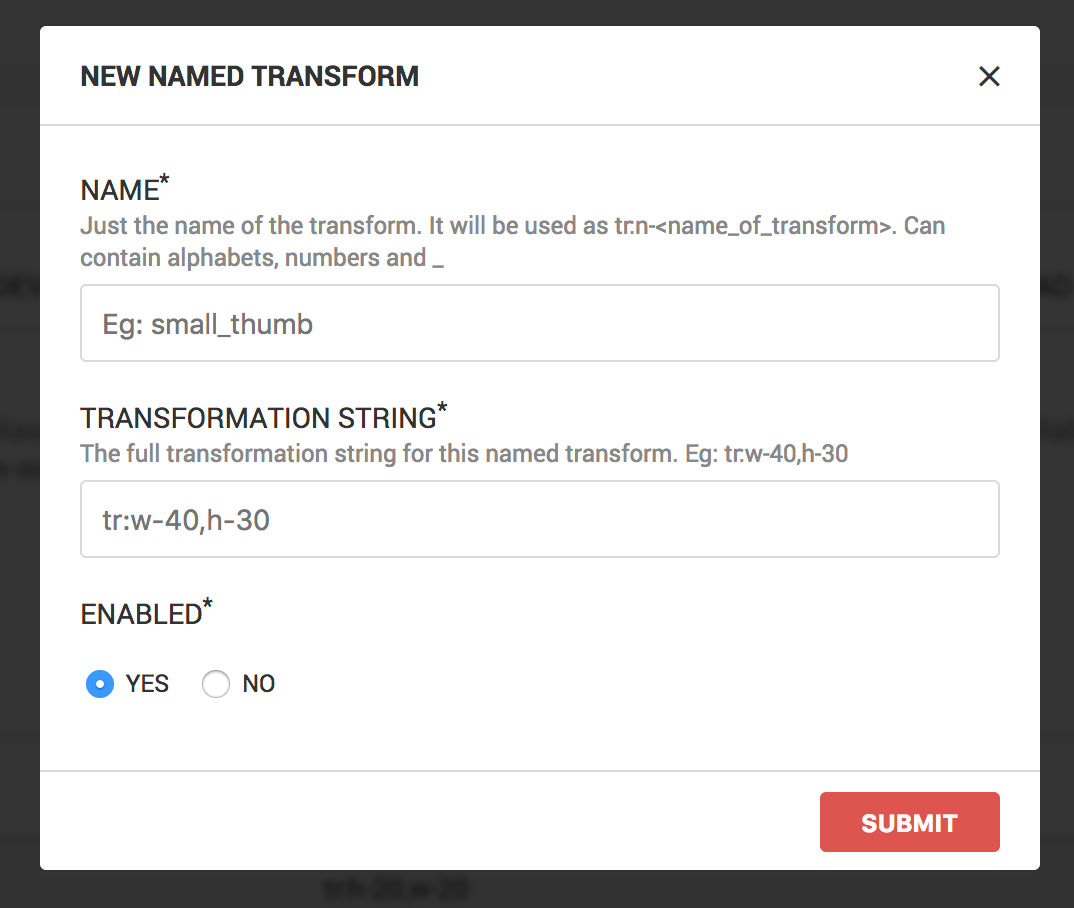
Let’s see how you can create new named transforms or edit them in ImageKit and then secure those URLs from your dashboard.
Creating new named transformations
- Go to your ImageKit dashboard.
- Go to “Image Settings” > “Named Transforms”. Click on “Add New”
- In the form that pops up, give any name that you want for your named transformation. Then specify the actual transformation string in the next field. For example, name could be
thumbnailand transformation string could betr:w-300,h-200. - You can also test a new named transform before submitting it. In the popup, if the data entered by you is valid, you would get a link to test a default image with the new transformation that you are trying to create. We recommend that you test the transformation before saving it.
- Click on “Submit”. Your named transformation is ready to use in your URL. For the above example, you will need to replace
tr:w-300,h-200in your URL withtr:n-thumbnail.

Editing Named Transformations
- Go to “Image Settings” > “Named Transforms”.
- When you hover on any existing named transform, you would get a link to edit it.
- Clicking on the link would open up a popup where you can edit the named transform or enable or disable it.
- Once you are done making the changes, click on “Submit”. Your changes will apply immediately for any new images that are fetched. For older images, you would need to clear the cache from your dashboard or contact support for the same.
If you have any questions regarding creating or editing named transformations, please create a support ticket from your ImageKit dashboard.
